

I found this recipe on Pinterest, from the Damy Health, and had to replicate it and through my own little twist on it. My friend, Tam, who has been my awesome cooking partner lately, made this with me in my new kitchen--it was a fun and delicious evening! :)
I am a sucker for anything peanut butter and chocolate! This recipe also has pumpkin in it which adds some awesome health benefits and gives it a fluffy cheesecake-like texture. This recipe is also no bake, vegan, gluten free, sugar-free, and super easy to prepare! You could easily make this raw as well if you had your own pumpkin.
Peanut Butter Pumpkin "Cheesecake"
Crust Ingredients:
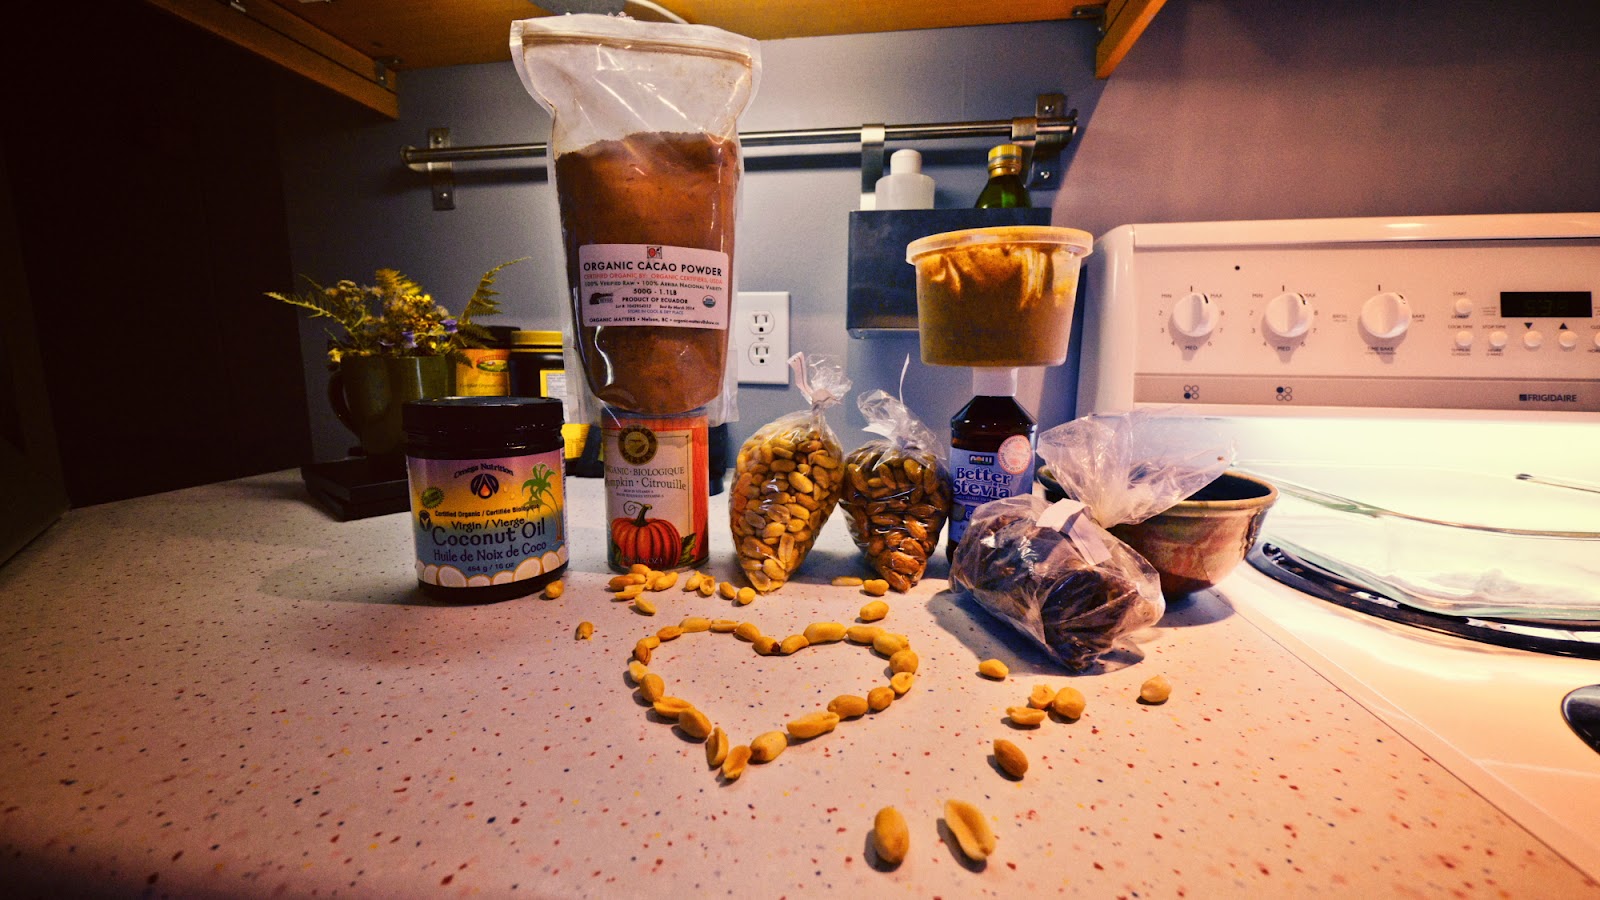
1 Cup Raw Peanuts
1 Cup Raw Almonds
1 Cup Pitted Dates
4 Tbsp Cocoa
1/4 Cup Water
Peanut Butter Filling Ingredients:
1 Cup Pumpkin Puree
1/2 Cup Peanut Butter
1/3 Cup Pitted Dates, soaked at least 10 mintures--I like to soak them longer so they blend easier
1 Tbsp Stevia
Chocolate Topping Ingredients:
1 Cup Coconut Oil
1 Tbsp Stevia
1/2 Cup Cocoa
Just a note, I am used to stevia, I love the taste! For some it takes a while to get used to the flavour, but my hubby loved this recipe too and he's not overly fond of stevia. You could also half the amount of stevia and add a little sweetener of your choice, but we wanted to keep this sugar-free and uber healthy! ;)


Separately blend each layer listed above in a food processor. The crust should be dough-like, the peanut butter filling should be smooth, and the top should be liquidy.
If you so choose, grease an 8-inch spring form pie plate with a healthy oil. I tend to skip this step--half the time because I forget, the other half because I've never had any issues with my desserts coming out of their dishes. ;)
First, press down the crust into the bottom of the pie plate. Next, layer and smooth out the peanut butter filling. And finish by pouring your chocolate topping over the top.
Chill for a few hours in the freezer until the top solidifies.

Remove, cut into pieces and enjoy!
I think we're going to play around with this recipe a bit as well so that the top isn't quite as hard. It tastes amazing but when you cut into it it kind of smushes everything else since the chocolate top is hard. ;p I'll update this with any changes we make the next time we make this wonderful recipe. ;)
Makes 1 8-inch cake. Try not to devour it all in one go. ;)
And for your entertainment; how silly we are when making this...


If you found this article to be helpful, please consider a small donation or visit the shop. Thank you for your love and support.
No comments:
Post a Comment